Basics of Manual Photography
When shooting manually, there are three main things you need to learn to the point they become instinctual in any given setting. All photos are the result of balancing each of these three technical aspects to achieve the photo you’re trying to capture:
Aperture
Film Speed/ISO
Shutter Speed
Here is a drawing that outlines the function of each:

Each of these functions affects the amount of light let into the camera, but by toggling any of these settings, you end up with different stylistic results, explained below:

Aperture
By adjusting the aperture, you’re determining how much light is let into the camera and the depth of field of your image. Depth of field means how much is in focus. For example, portrait mode on your phone camera is a very shallow depth of field, meaning your subject is in focus, and everything else is blurry. Aperture is adjusted on the actual lens with film cameras, on the aperture ring, and on the lens and/or within the dials on a digital camera. Aperture can be adjusted from photo to photo.
This image was shot at an f/1.8 aperture. Aperture is always denoted with an f/ in front of the number because “f stop” is another term for aperture. Why do we have so many terms for the same exact thing in photography? Because being exhausted allows us to eat more snacks, and we love snacks.
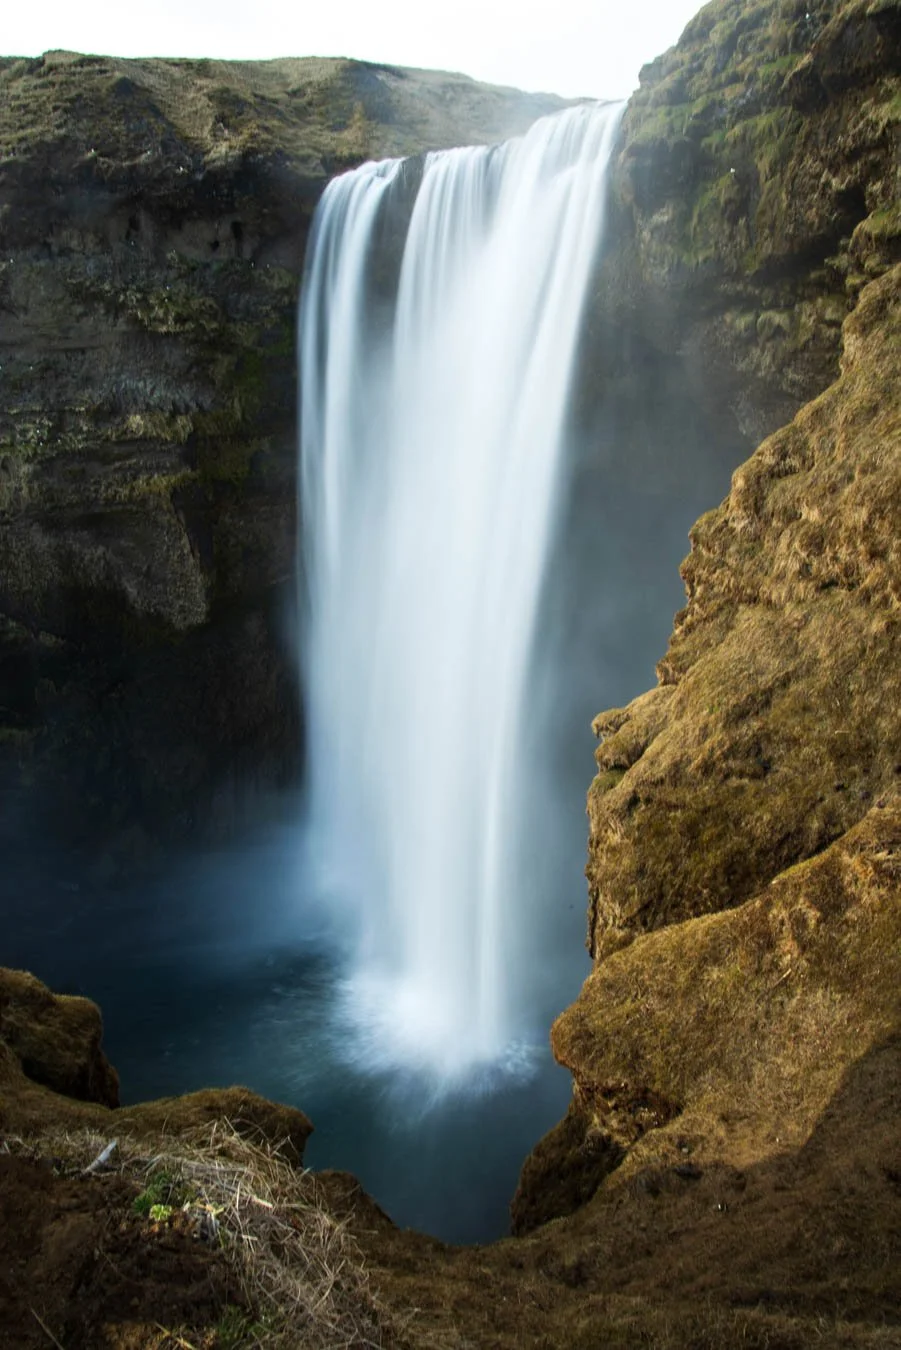
Shutter Speed
By adjusting the shutter speed, you’re changing how quickly the camera shoots based on how much movement you’re trying to capture. Do you want an action shot frozen in time, or do you want a blur that looks like a ghost of action in the past? Are you using a tripod, or shooting a still life? These are shutter speed relevant questions. Shutter speed is adjusted on a knob or dial on your camera.
This photo was taken with a 1.3 second shutter speed (using a tripod) to create a soft blur in the water. If, for example, you’re photographing wildlife and want to capture a bird in midair, perfectly in focus, a 1/200 or faster shutter speed would be ideal. That means one two hundredths of a second, so… pretty speedy.

Film Speed/ISO
By adjusting the film speed or ISO, you’re determining how sensitive your images and camera are to light based on how bright or dark your environment is. Beware though, a high film speed/ISO can create a noisy image. Noise is a speckled effect on your image that can sometimes make it difficult to make out the subject in extreme scenarios. Unlike grain, noise is usually not desirable, and in digital cameras, noise can be inconsistent with hot spots of purple, green, or yellow.
On a film camera, you choose your film speed when you purchase your film, and it cannot be adjusted once you’ve loaded your film into the camera. In other words, the whole roll has a set film speed, so choose your film speed based on what you anticipate shooting! If you know you’re going to a concert, choose 800 or 1000 ISO film. If you’re on a vacation and will be out and about, a 400 ISO film works great.
On a digital camera, you can adjust your film speed as needed. Usually this is through a button + dial combo, or a menu setting.
This photo was taken with a 1000 film speed. If shooting on actual film, your options are usually capped at 800 or 1000 speed film, and that’s usually a special order film these days. On modern digital cameras, film speeds can often go into the tens if not hundreds of thousands, but it’s generally advised against unless in desperate situations.


